Let me start at the beginning, I offered to make a bed quilt for my daughter… at least 2years ago.
She was about 5 years old at the time with a huge love of cats and all things red and knew what she wanted. So we did a little google image search for cat quilts and looked through some patterns and made a short list. From the short list the only one I could get a pattern for was one from Copy Cat Quilts.
I ordered the pattern, rescaled it to the size we thought we wanted. Got the red and white fabrics and set to work. After piecing about 5 of the 12×12″ blocks, with about 13different sized/shaped pieces per block, I had had enough and it went in the bag for months…
After a long time I finally pulled it back out and finished all the piecing and I had a quilt top! After I found some fabric for the border and got that sewn on I realised the quilt covered a double bed!
That’s a big quilt for a little primary school kid! But Em did want a quilt for life.
We took a trip to the fabric store to look for a backing fabric. I hunted online for a red fabric with either black or white paw prints all over, but never found one, so decided to give Em free choice at the store. She picked a red, black, grey and white swirl pattern. There was no swaying her and for a long time I really wasn’t sure about it, but it has grown on me over time.
I needed to visit a friend with a huge table to layer the quilt and get it all pinned ready for quilting, so that delayed the project further.
With all the pins in place it was time to start! I had machine quilted a block to use as a matching pillow and to sample how to quilt it. The result was too dense for a bed quilt in my opinion. I asked around for suggestions and a friend on twitter said I should hand quilt it, something I had never done. She assured me it wouldn’t take much longer the machine quilting and would be worth it.
So I took the plunge, my first hand quilting.
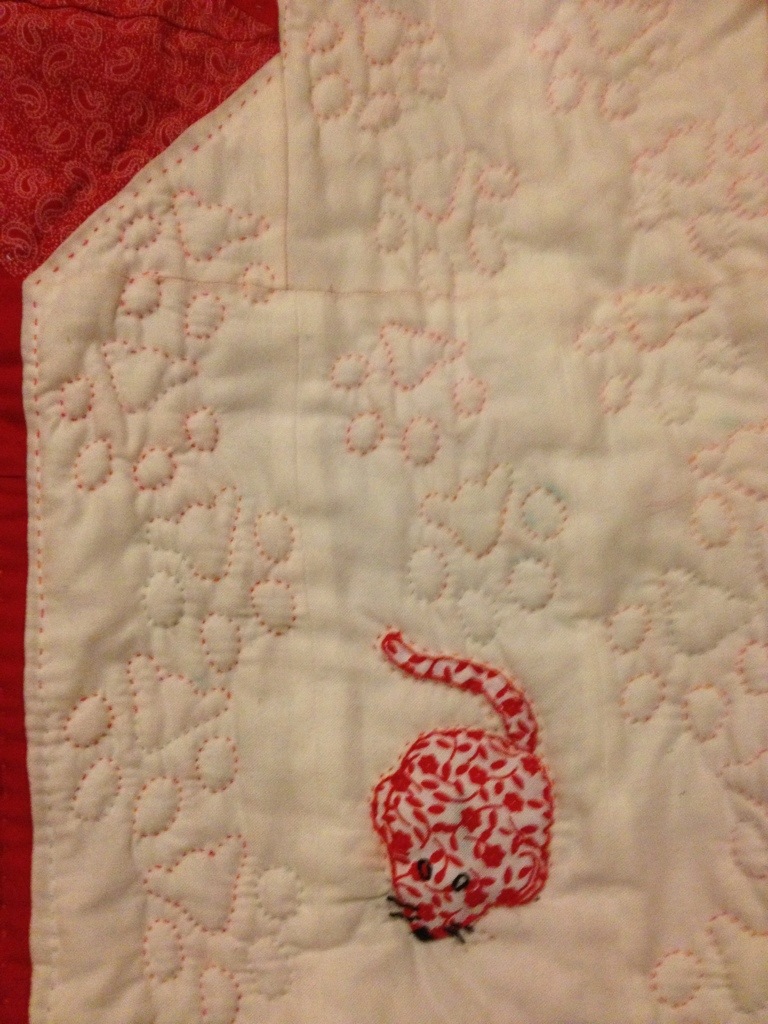
Over a year later, okay I’ve only worked on it for a few days at a time then put it away for weeks on end, but it feels like a long old time. I’ve completed the outline quilting around each cat, and quilted tiny paw prints in the empty space down one side of the quilt.
I’d also designed and appliquéd 4 little mice into the big empty spaces, and machine quilted 26 circles with an extra layer of batting to look like balls of yarn. Then carefully trimmed back the batting so that they could be edge tuck appliquéd onto the quilt.
So this week I decided I needed to crack on and hand quilt the remaining tiny paw prints, appliqué on the balls, add some hand quilting to the border, trim back the border and hand bind the quilt! It needed to be done!
Em hates a duvet, at 7years old she still can’t get used to sleeping under even a really light weight one. So every night she sleeps under a blanket I had for her, acrylic fleece on one side, cotton print on the other. But now she is just too big for the blanket and this quilt was supposed to replace these small blankets long ago!
I’ve tried quite a few thimbles to save my poor fingers from the repeated abuse of driving a tiny sharp needle through several layers of fabric and batting. I’m happy with a metal quilting thimble, but it makes my finger sweat like mad and soon I have a soggy wrinkly finger!
My kind friend Donna has been enjoying some hand piecing lately and made herself a simple leather thimble, so she made me one too. It’s soft leather and works well, its my new favourite.
In the photo above you can see the fairly small and irregular stitches for the paw prints. This is about as good as my hand quilting gets on a quilt this thick.
But I don’t mind that it’s far from perfect, I’m sure the stitches will hold it together. (The bright blue paw print marks are made with washable fabric marker, I started off when a pencil which drove me nuts, but this pen works well on light fabric and washes out easily.)
So this is where I’m at. (The edge isn’t bound, just the backing folded over the edge to keep everything neat and stop the batting getting messy at the edge.)

The white space on the right has already been filled with paw prints.

The other side is partially marked up and I’ve just started the paw prints, so I have quite a bit if work to do still!
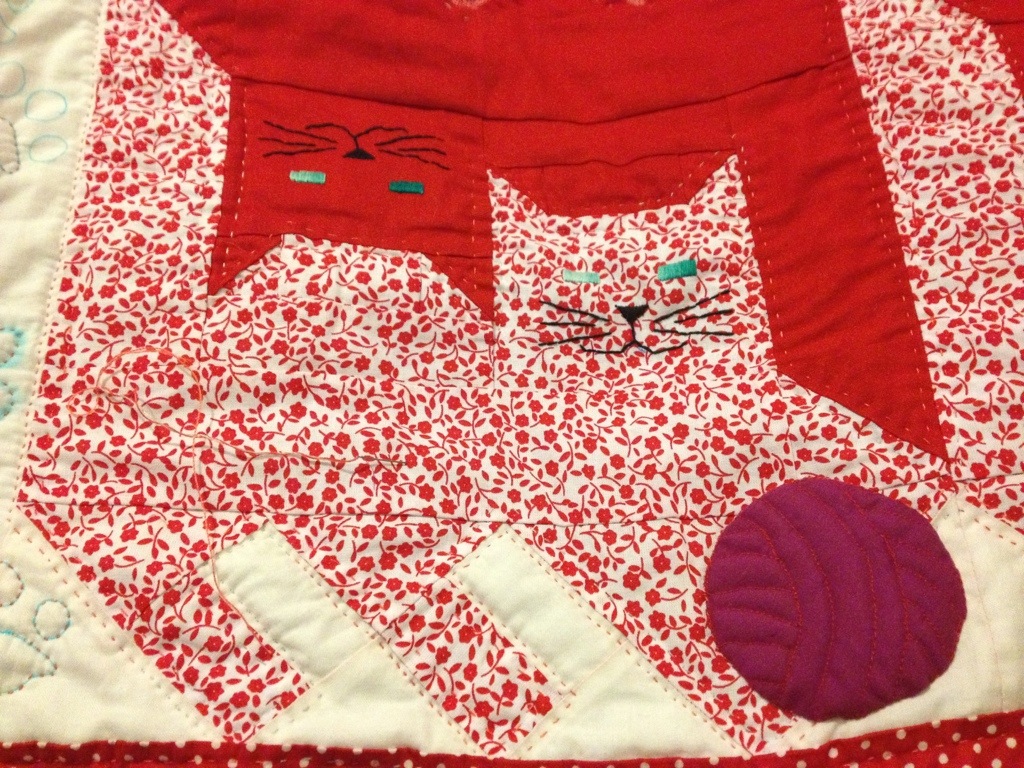
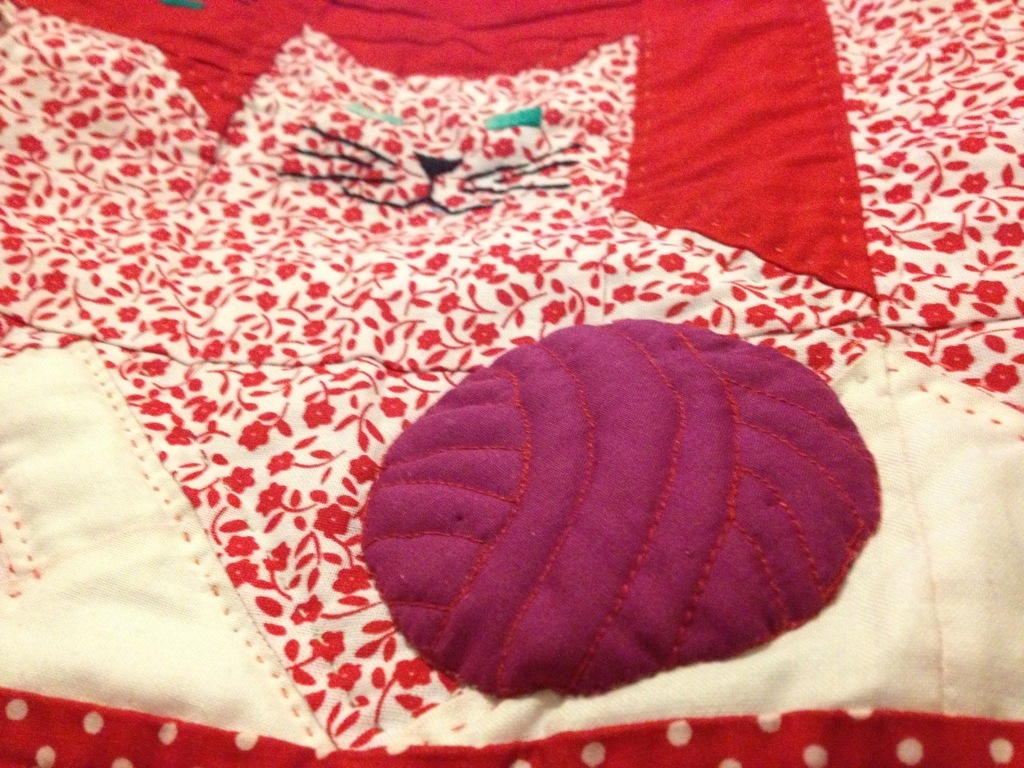
I added one of the trapunto/trapplique yarn balls to the quilt today, for a chance of stitching and to see how they look.

I realised when I pulled this out, over a year after I made the balls, that I am 1 ball short. Which made me think it would be a good opportunity to hand stitch 1 as a label, with the quilt details on. So I will leave that 1 ball til last.
I like how they stand up slightly off the quilt surface.
I remember when I was sitting embroidering faces on each block in the early days of this quilt, how I thought that would be the longest part of the process and cats need faces too, so they couldn’t be left off! How wrong I was, the quilting has gone on for ages, especially the paw prints. But I think it will be perfect, I couldn’t have done the law prints like this by machine and I think they add the lovely bit of whimsy to this quilt.
More stitching to do… But for now, it is time for sleep.
Tomorrow, less blogging procrastinating, more quilting!


