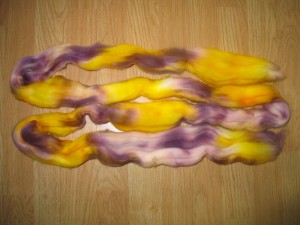
Split the top along its length being carefuly to keep both peices equally, providing you with 2 lengths of top that are half the width of the original.
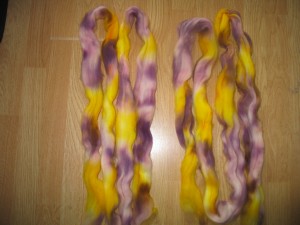
You now have 2 lengths of top that are thinner, remember the end to spin from (bottom left of both peices in this picture).

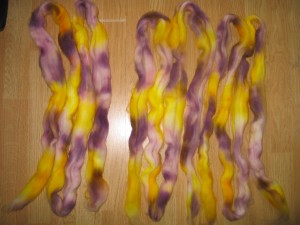
1 of these will become the first ply for your yarn. The 2nd needs to be split again length ways, making 2 equal thinner strips. Remember which end you are spinning from. In the image below: Left; Top for first ply (spinning end is bottom left), Right; Top for second ply, 2 thinner lengths (spinning end is bottom length of both peices).

You may want to roll these into a ball, or pre draft by attenuating them if you wish, but this may cause the colours to blend together, disrupting the striping.
When you spin each of the plies, the first ply will have long colour repeats, (in the image above the 1st ply will have 9 long colours repeats of yellow, purple), the 2nd ply will have shorter colour repeats (in the image above the 2nd ply will have 18 shorter colour repeats of yellow, purple).
Making sure you spin the tops from the right end will meake sure you get matching colour repeats aong the length, and when you ply you should ply from the same end of each single.
The effect will be a yarn with slow colour changes over laid with faster colour changes, making a really interesting colour blend effect. Where both plies are the same colour you will get a solid section, but other sections will be blended. If you are using more than 1 length of top for a larger garment follow the same steps and identify the same starting end if possible (this is easier when 3 or more colours are present).
I will post more pictures of the finished yarn and a knitted item when its finished. It works well for socks!

What a brilliant clear demonstration – thank you so much.
Shani